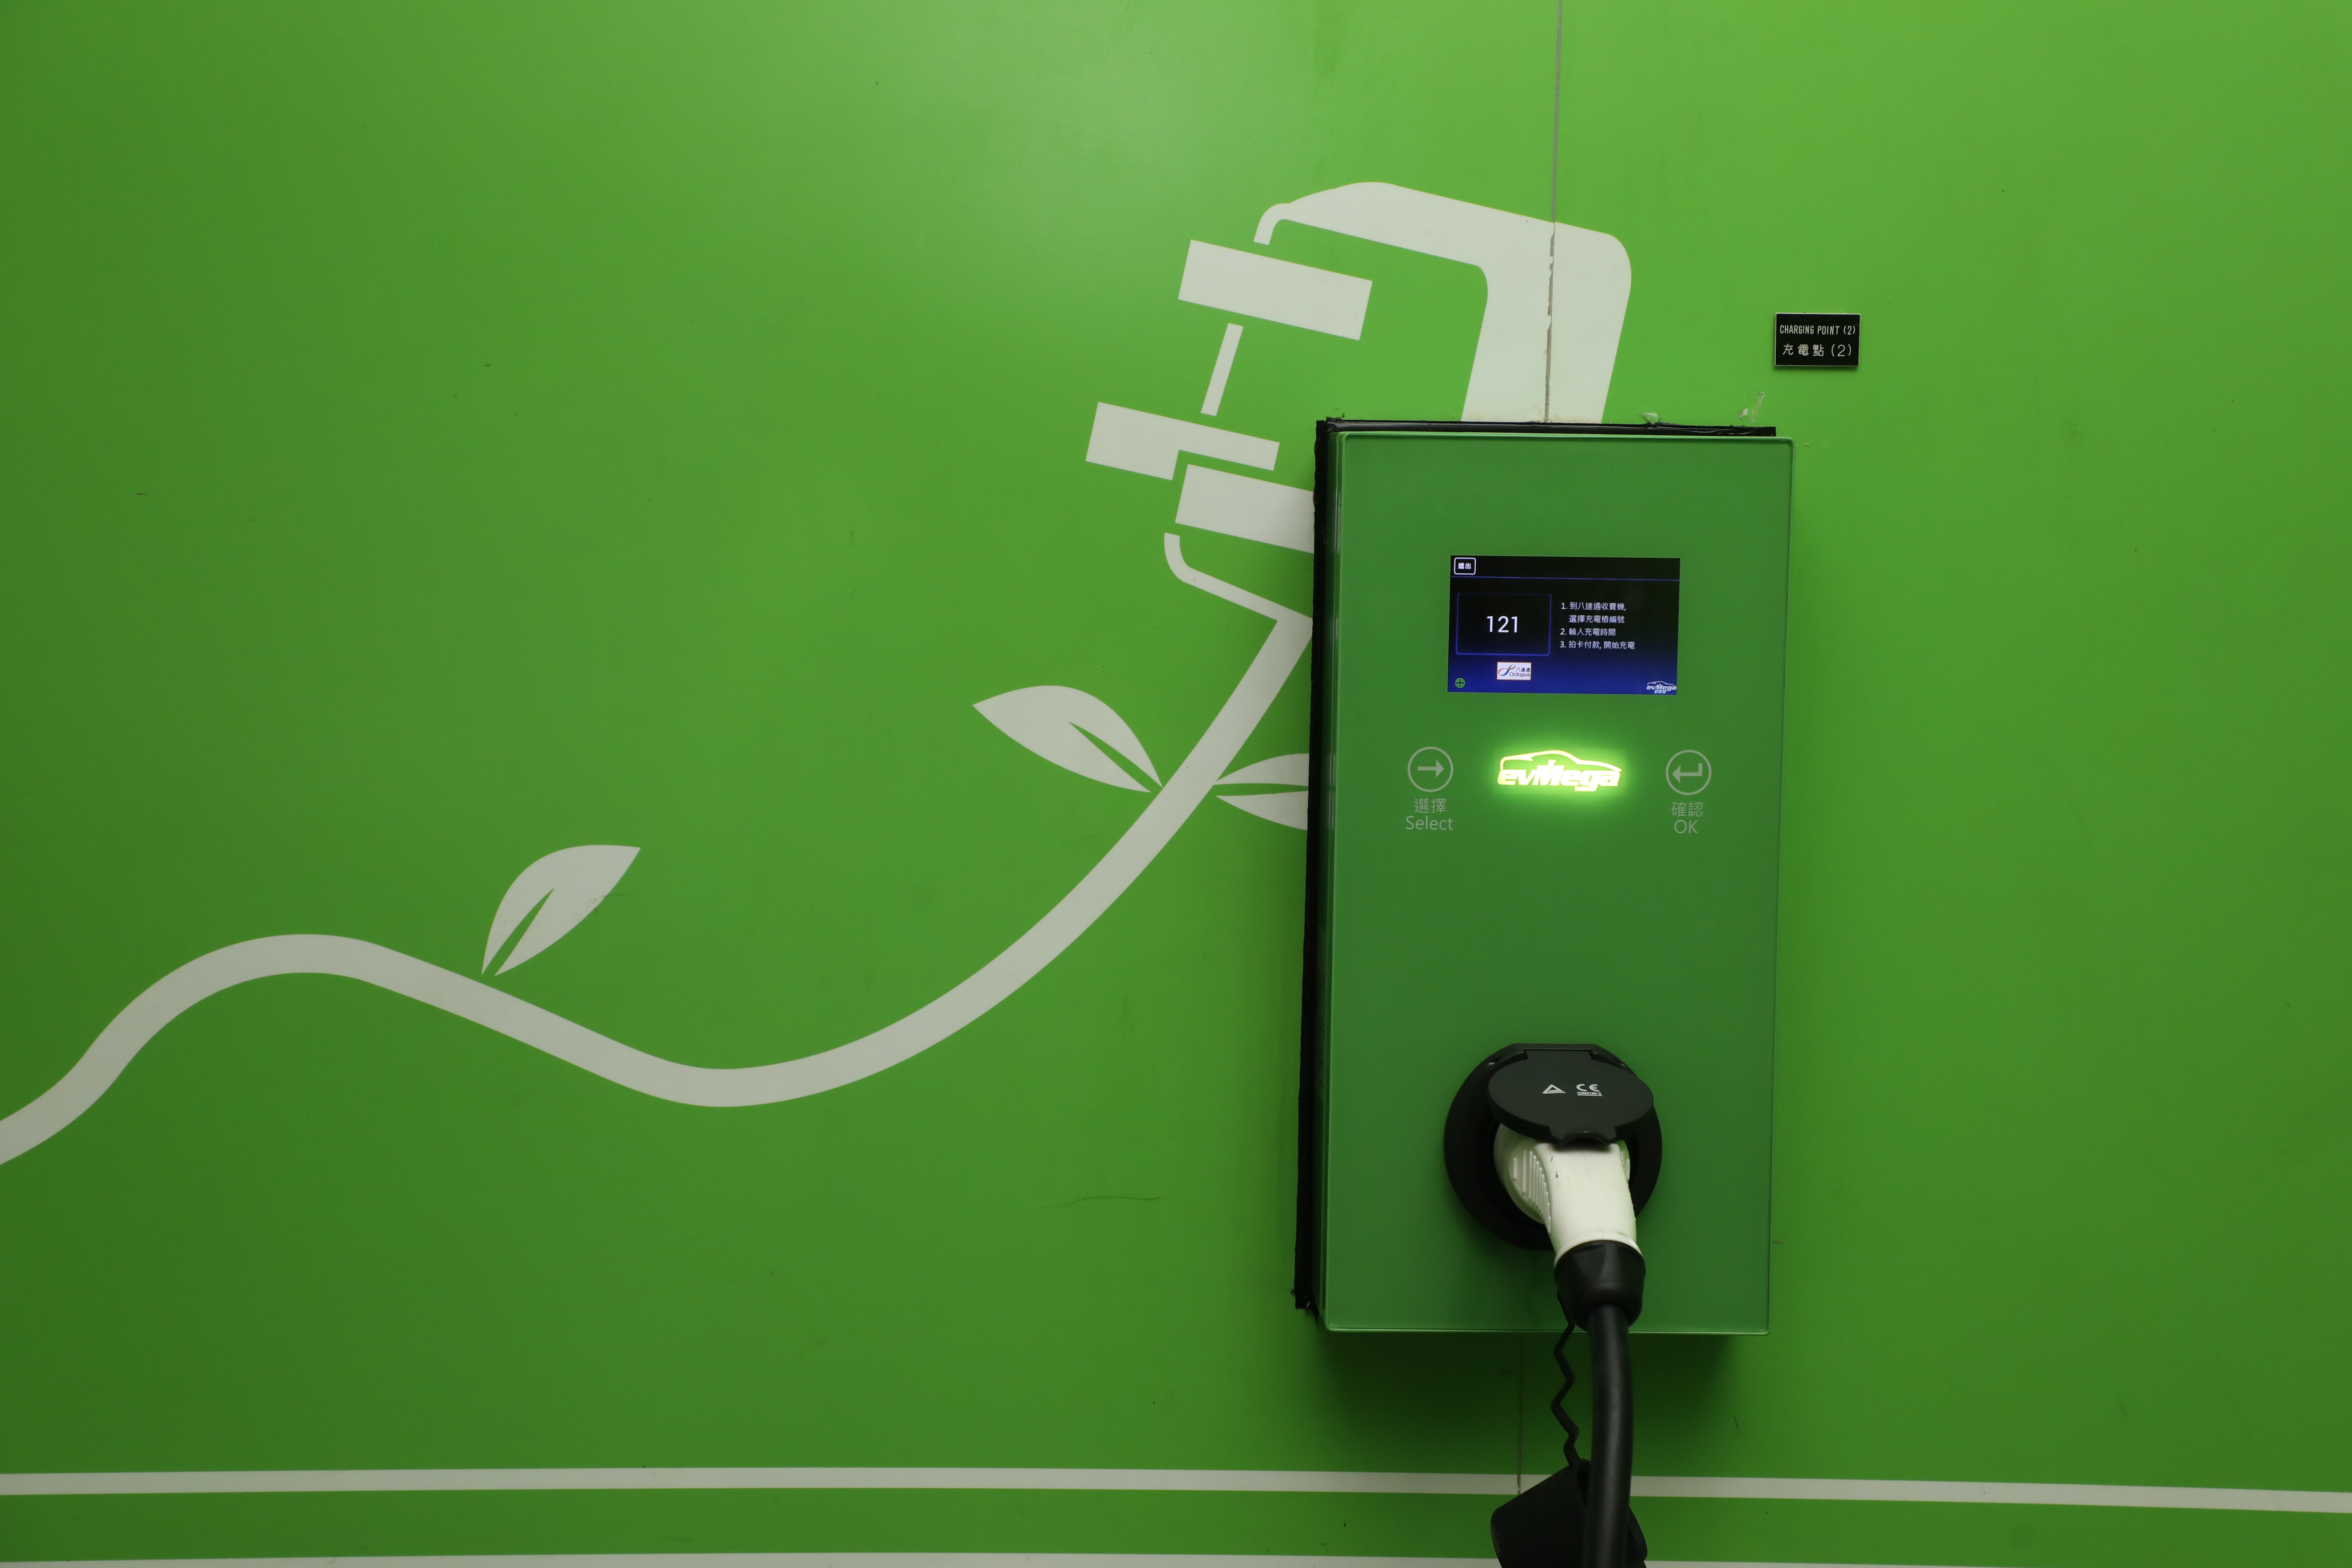
1. Plug the power connector into the charging socket of your electric vehicle.
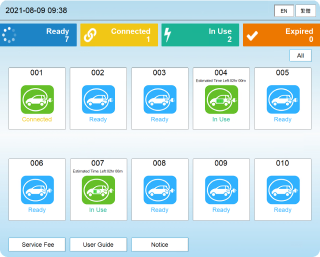
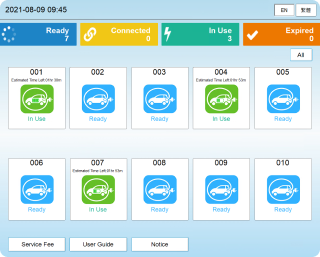
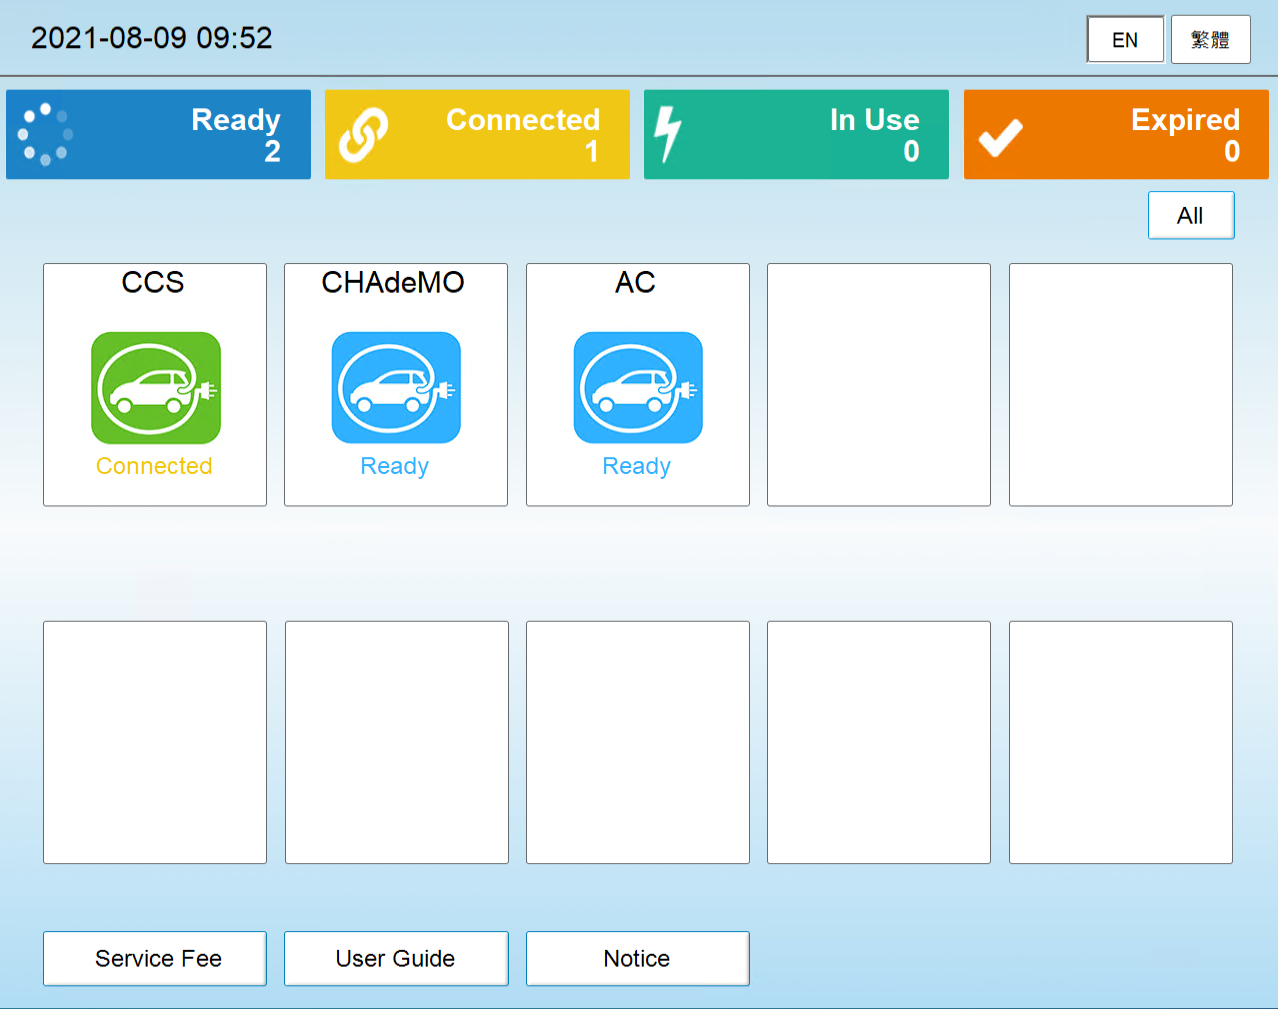
2. Select the connected parking number in charging kiosk.
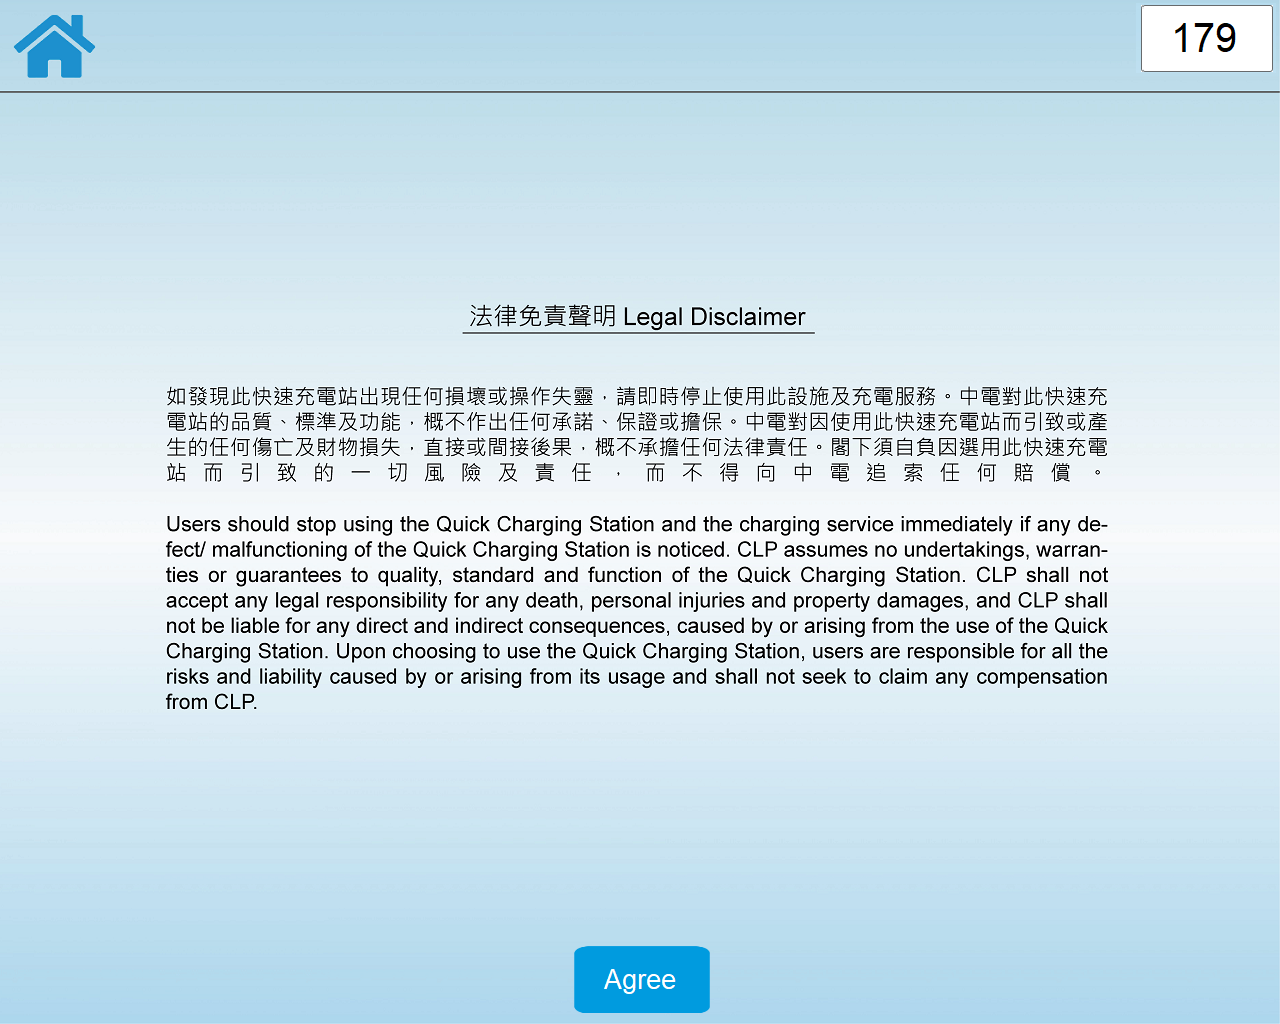
3. Review and accept terms and conditions.
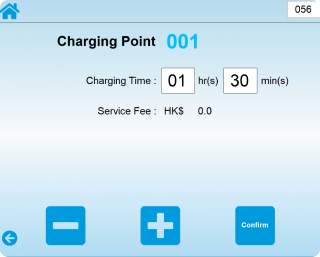
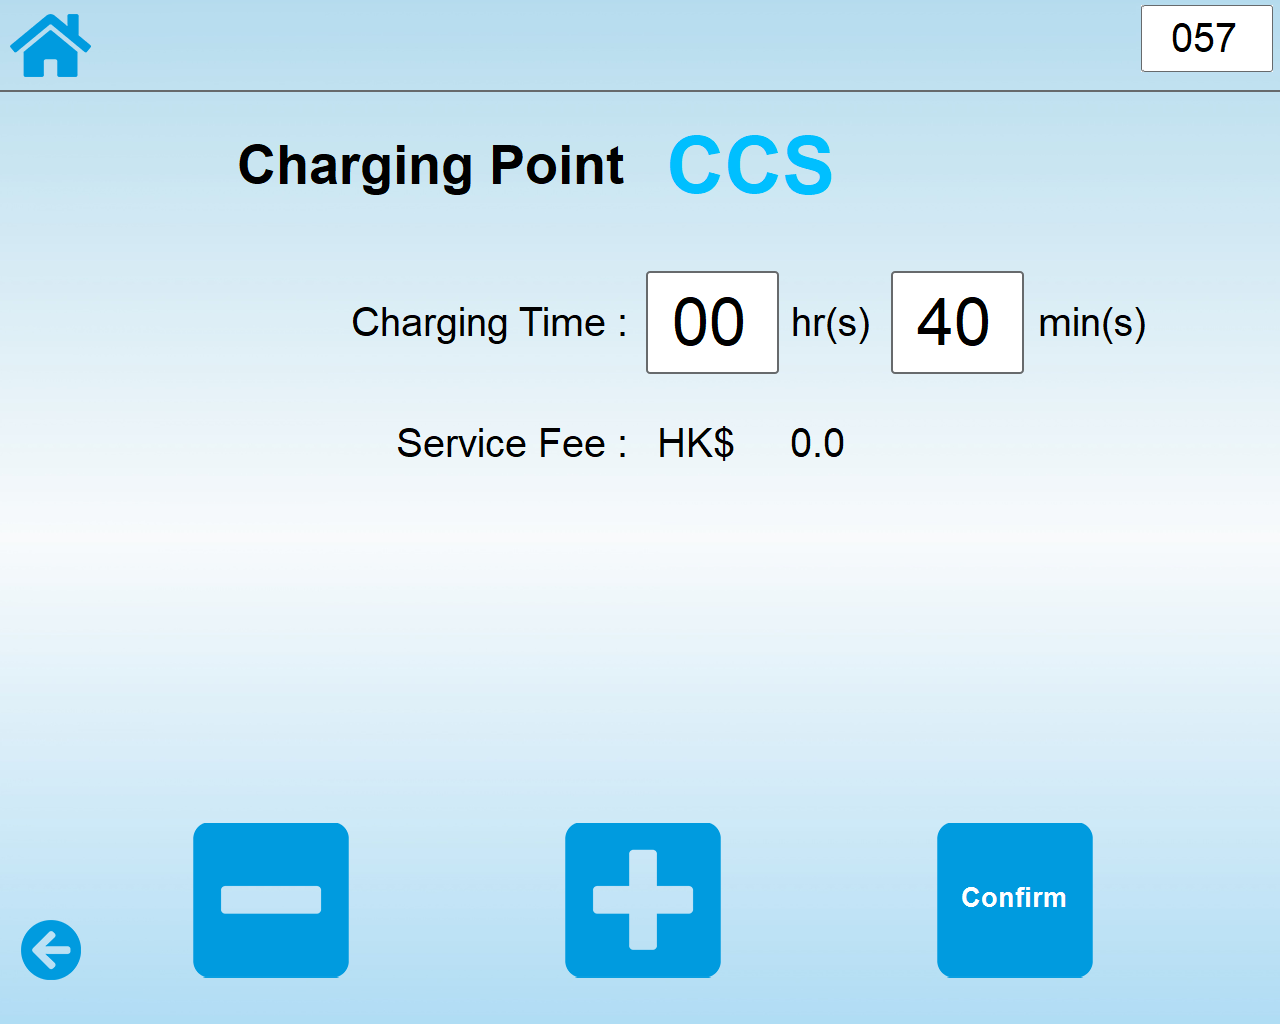
4. Select your charging duration and press ‘Confirm’.
5. Tap your Octopus card on the reader to start charging.
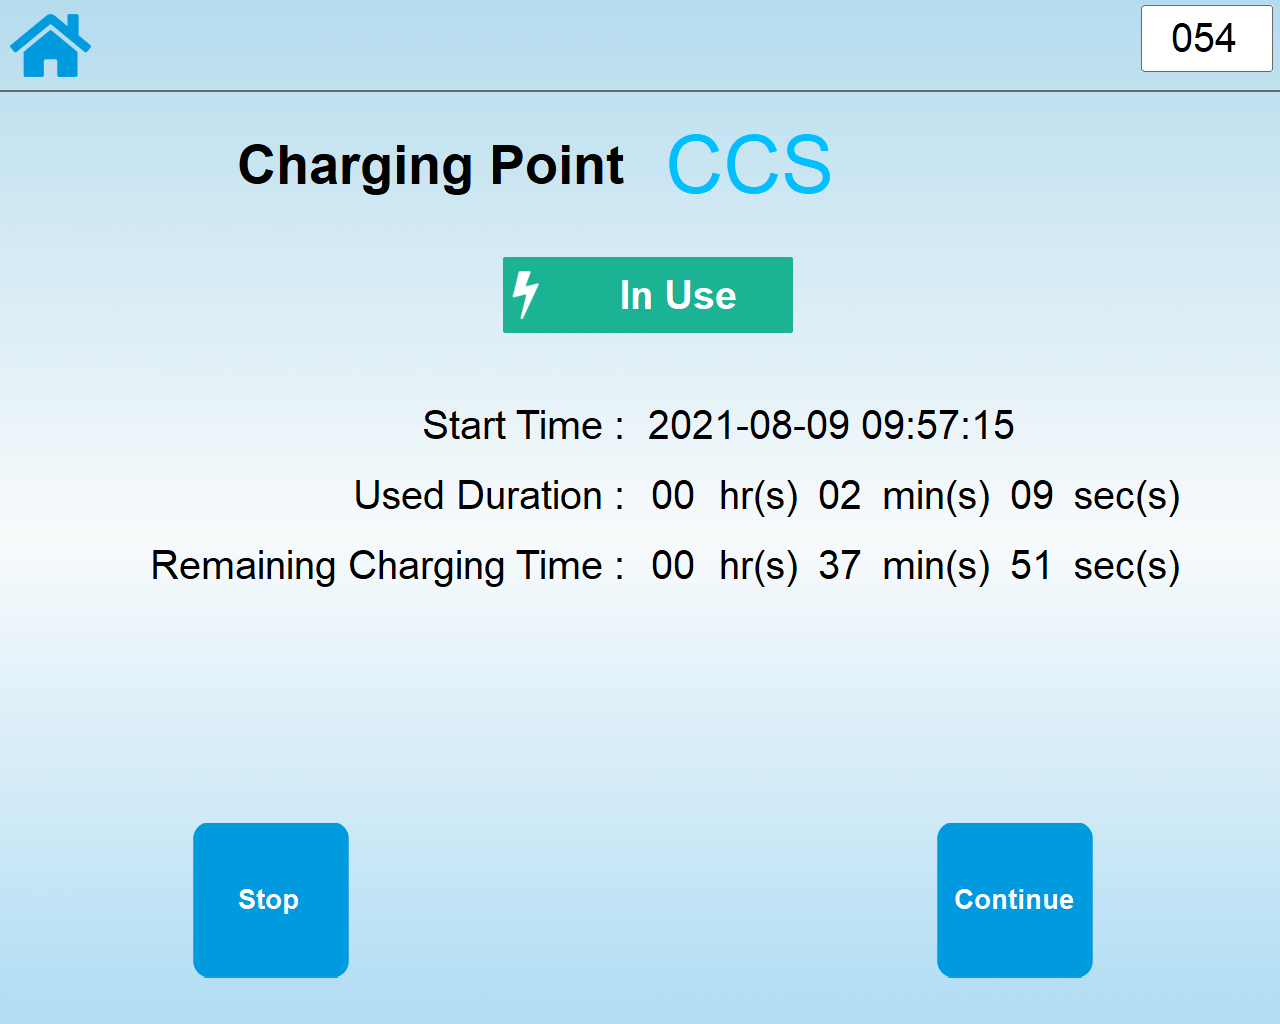
6. Estimated time left will be displayed in the kiosk once charging starts.
Stop charging
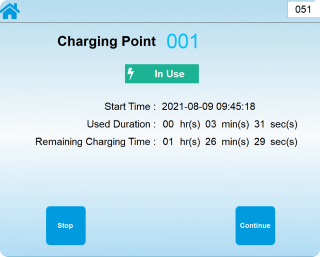
7. Tap the same Octopus card to view charging status.
8. Press ‘Stop’ if you need to stop charging service.
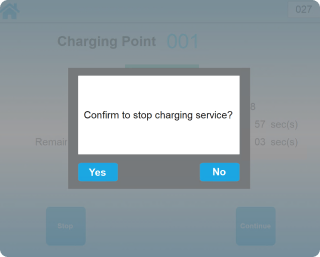
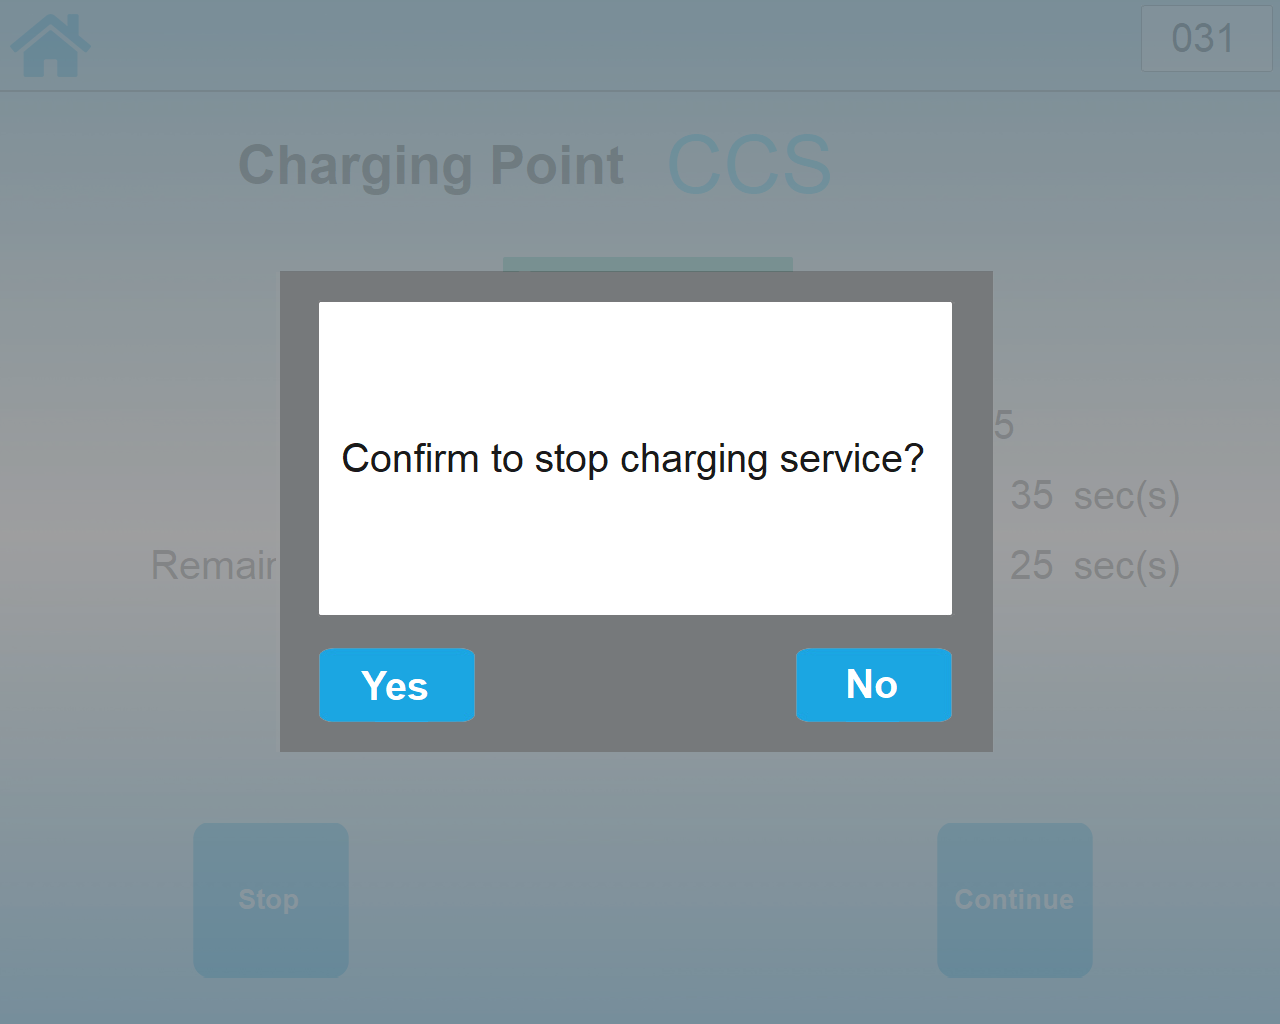
9. Press ‘Yes’ to confirm stop charging service.
10. Unplug the power connector and put it back to the holder carefully to avoid damaging the device.
Depending on the vehicle model, users may need to use vehicle side control switch to unlock the power connector before disconnection.
Note:
The images above are for reference only.
More information
Please refer to our Quick Charge User Guide (PDF) for important notes and terms and conditions.
Back to top
Log inSee moreSee allMenuHomeSearchDid you meanPageHelp and supportDownload our appBusiness objectivesresults foundAccept and continueStart dateEnd dateEvent typeEnviroment relatedPreferred disciplineFirst PreferenceOther PreferenceProject focusProject codeInternship typePagesHelps and supportCourse durationSelect course durationCourse typeforFilter ByClear allShowing {0} of {1} resultsSort byEarliest start dateOldest start dateInternship start dateInternship end datePlease stay tuned for upcoming openings.CalculateKey in the figures and press calculate buttonTotal Carbon emission(kg/COApprox. number of trees plantedElectricity consumption(units)Bill CalculatorBilling Start DateBilling End DateTariff TypeConsumption Unit(kWh)Number of Billing DaysThe earliest date you can select is the 1st day of previous calendar year.Residential TariffConcessionary Tariff for the ElderlyCalculation DetailsNotes:Charge (HK$)DetailsConsumption PeriodRate (HK$)Large Power TariffLarge Power Tariff with High Voltage Super DemandHigh Load Factor Rider DiscountYesNoOn-Peak Period Unit (kWh)Off-Peak Period Unit (kWh)On-Peak Maximum Demand (kVA)Off-Peak Maximum Demand (kVA)Please select datePlease input Consumption UnitThis bill calculator is meant to calculate electricity charges for previous and current years only.The bill calculator can only calculate the budget electricity bill for up to 90 days.Start Date cannot be later than End Date.Please select Tariff TypePlease select High Load FactorPlease input On-Peak Period Unit (kWh) Please input Off-Peak Period Unit (kWh)Please input On-Peak Maximum Demand (kVA)Please input Off-Pear Maximum Demand (kVA)On or off peak demand, whichever is higher, should not less than 35,000 kVAThis topic is related toCustomer Service centreNoteTipView All10 sec videoAs a , I want toResidential customerBusiness customer No data District Sub-districtRecalculatePlease input Number of Billing DaysConsumption UnitkVAkWhEnergy chargeEnergy saving rebateFuel cost adjustmentConcessionary tariffRent & rates special rebateTotal amountEnergy charge on peakEnergy charge off peakDemand charge on peakDemand charge off peak2022 Special rebate2023 Special energy saving rebateSpecial fuel rebateBilling demand shortfallHigh load factor rider discountSearch Help and SupportLatest updateCustomer Service HotlinesYearMonthJanuaryFebruaryMarchAprilMayJuneJulyAugustSeptemberOctoberNovemberDecemberDownloadLink copiedresultsSorry, something went wrong. We can't get that information right now. Please try again later.FeedbackHow would you rate the overall website experience today?Please tell us more(optional)Leave us your comments (optional)Submit